How to build an MVP in 2025: Checklist
Bringing a new product to life in 2025 starts with one crucial decision: What is the smallest thing you can build to test your biggest assumptions? That’s your MVP—your minimum viable product. But in reality, most MVPs don’t deliver what teams hope for. Why? Because they’re built too fast, too vague, or too feature-heavy. Whether you’re a startup founder, part of a product team, or building internal tools in an enterprise, a strong MVP is not just a smaller version of your final product—it’s a focused learning tool designed to reduce uncertainty.
This article walks you through how to build an MVP in 2025, using practical steps, current tools, and strategic thinking. If you’re serious about validating your idea before scaling, read on.
What an MVP really is (and isn’t)
Let’s clarify what an MVP means in 2025. With access to no-code tools, AI-driven research, and user testing platforms, the way we build MVPs has evolved.
An MVP is not:
- A feature-light version of your product
- A beta release for early adopters
- A shortcut to skip research
An MVP is:
- A tool for learning about your user, your solution, and your market
- A fast, low-risk way to test key assumptions
- A stepping stone toward product-market fit
Your goal is validation, not perfection. The MVP is the experiment; the product comes later.
Steps to build, launch, and test an MVP
Step 1: Align on the problem and the user
Start with the basics: What problem are you solving, and for whom? You need a clear problem statement and a well-defined user segment. If you’re unclear on either, do not build anything yet. Use lightweight discovery techniques:
- User interviews (5–10 sessions are enough to see patterns)
- Jobs-to-be-Done framework
- Persona development based on actual behavior
Your MVP should target early adopters—users who are already looking for a solution and are open to new tools. Build for them first.
Step 2: Identify assumptions
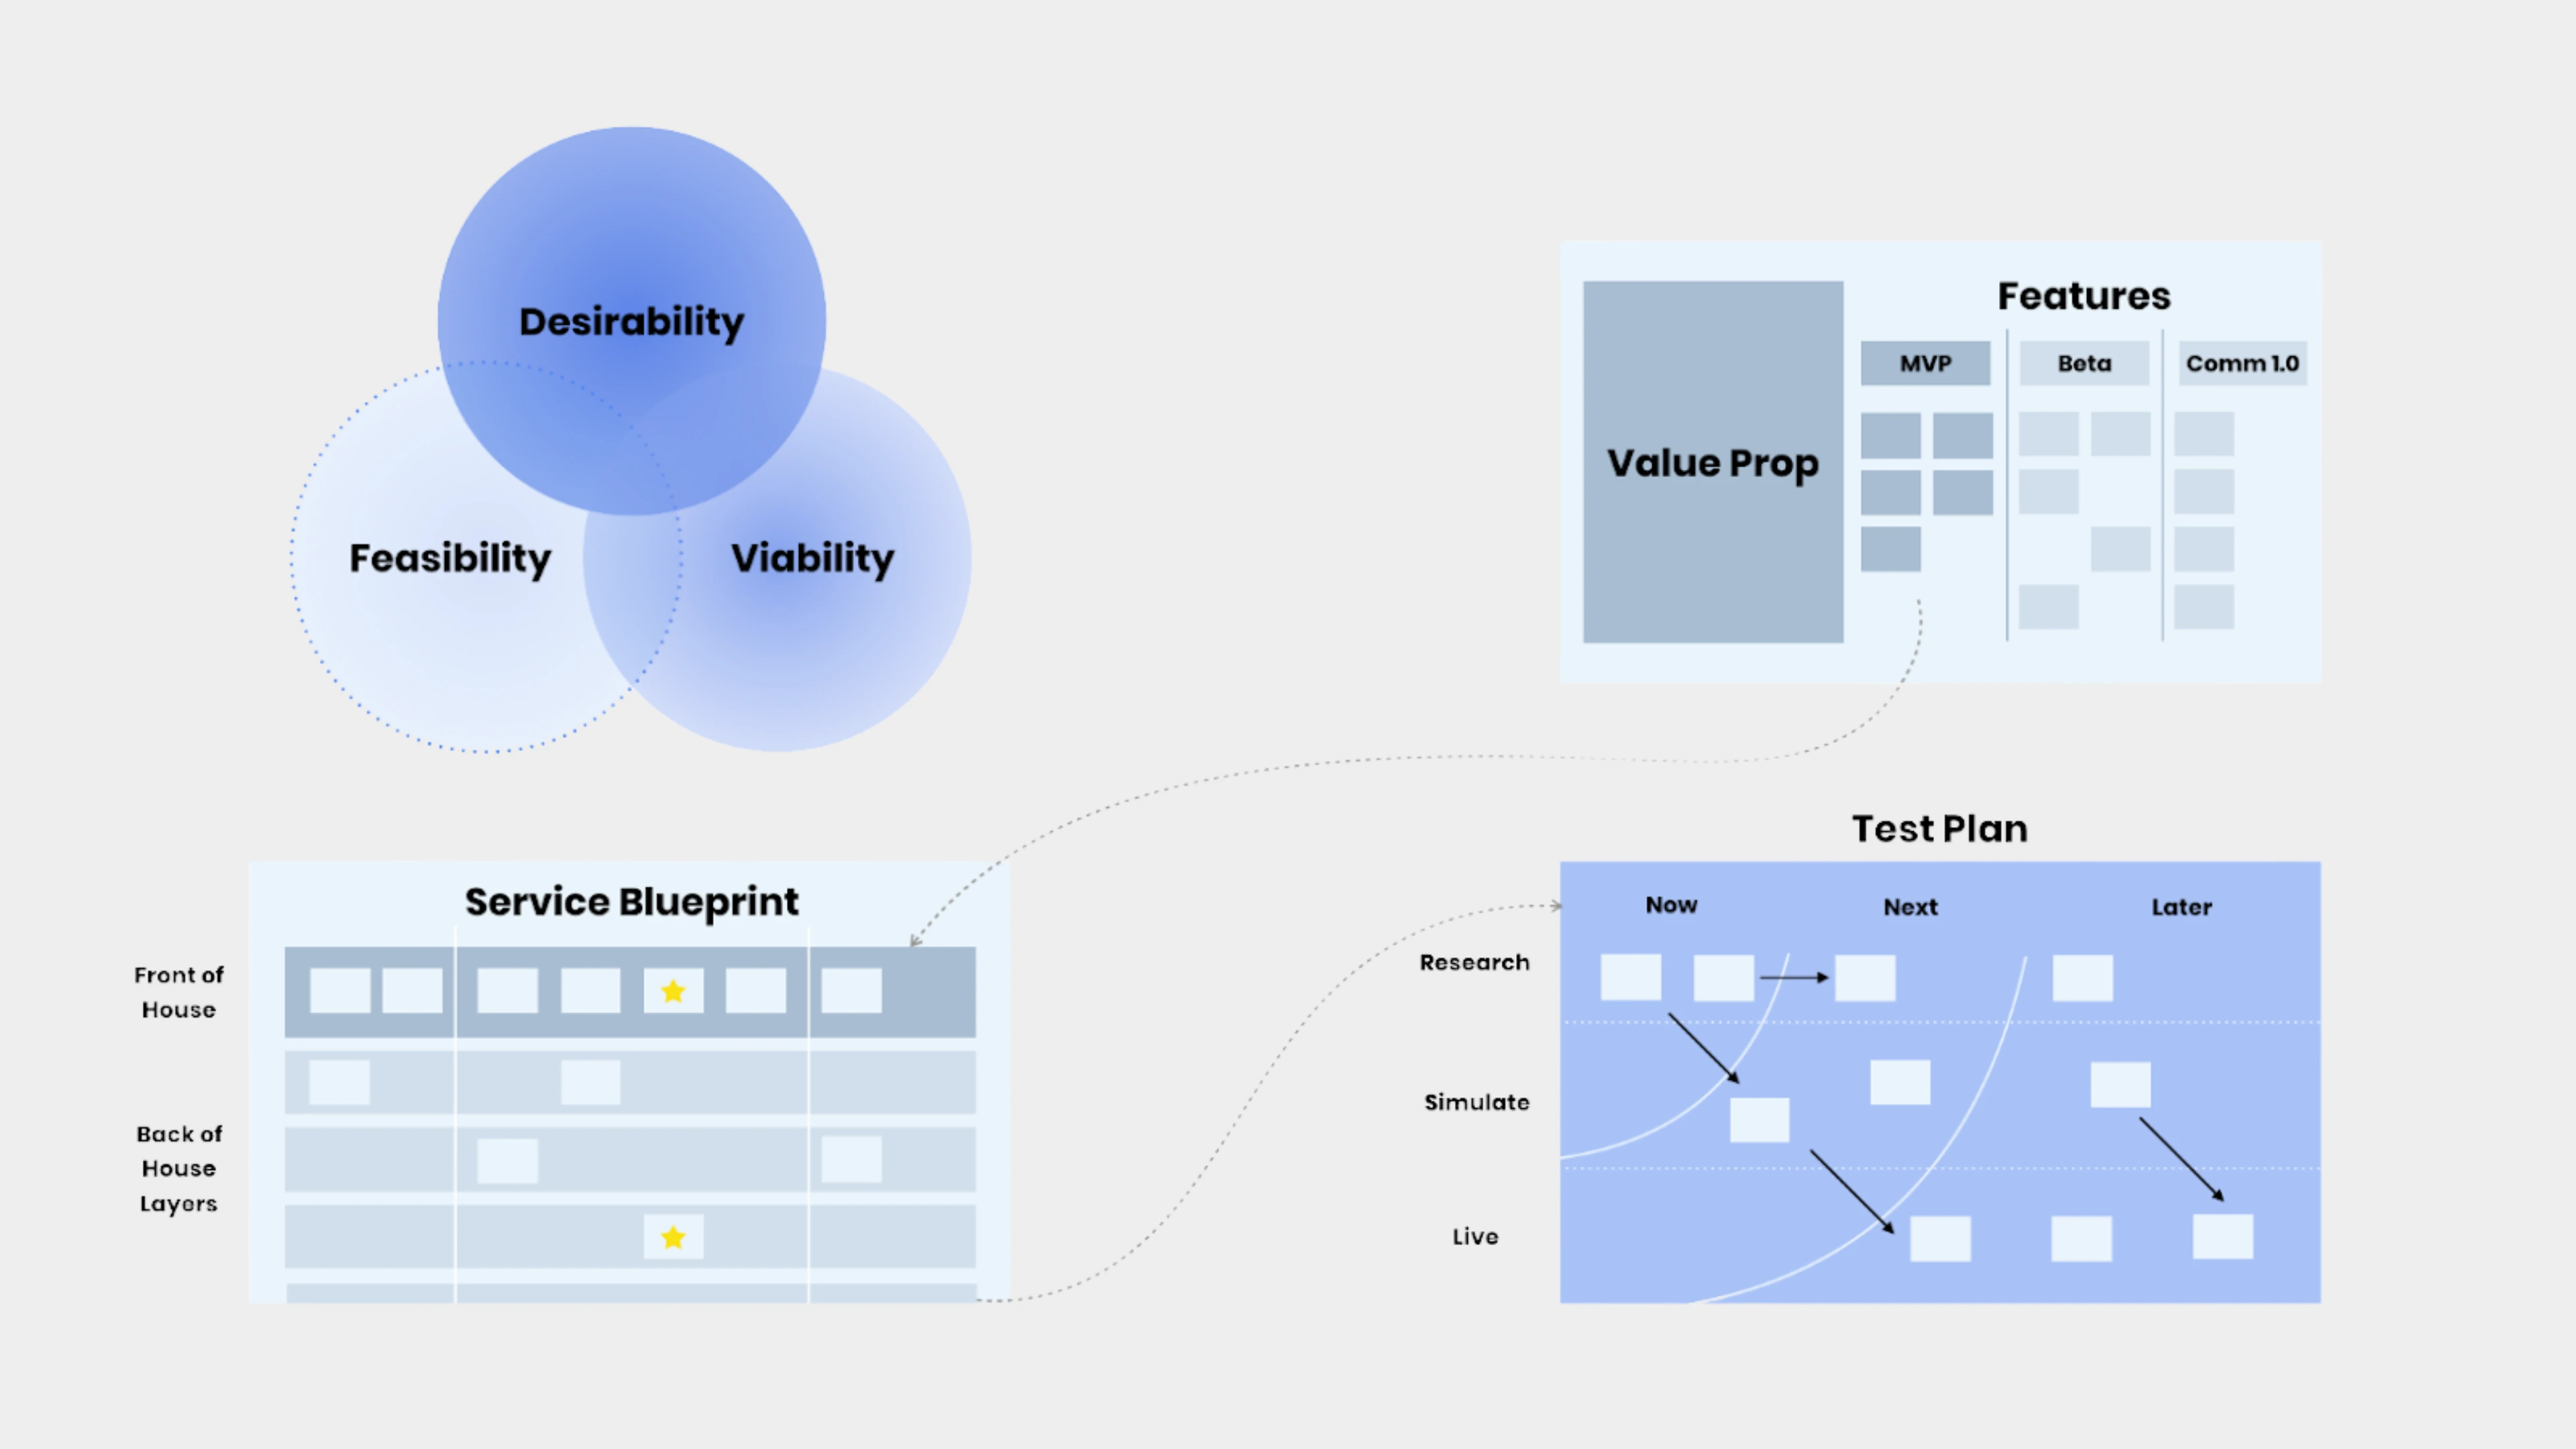
Every new product idea comes with a set of assumptions—about user behavior, value, and feasibility. The most efficient MVPs are designed to test the riskiest of these assumptions early. Start by listing assumptions in three categories:
- Desirability: Do users actually want this?
- Feasibility: Can we build this with current tools and skills?
- Viability: Can this become a sustainable business?
Prioritize the top 3–5 assumptions that could break the whole idea if they’re wrong. These are what your MVP should be built to test.
Step 3: Define a hypothesis
Turn each assumption into a testable hypothesis. For example: “We believe that freelance designers will pay $20/month to manage client feedback in one place.” Then define your objective:
- What will success look like?
- How will you measure it?
Keep metrics simple and actionable. You’re not optimizing for retention or lifetime value yet—you’re just trying to prove if there’s interest or engagement.
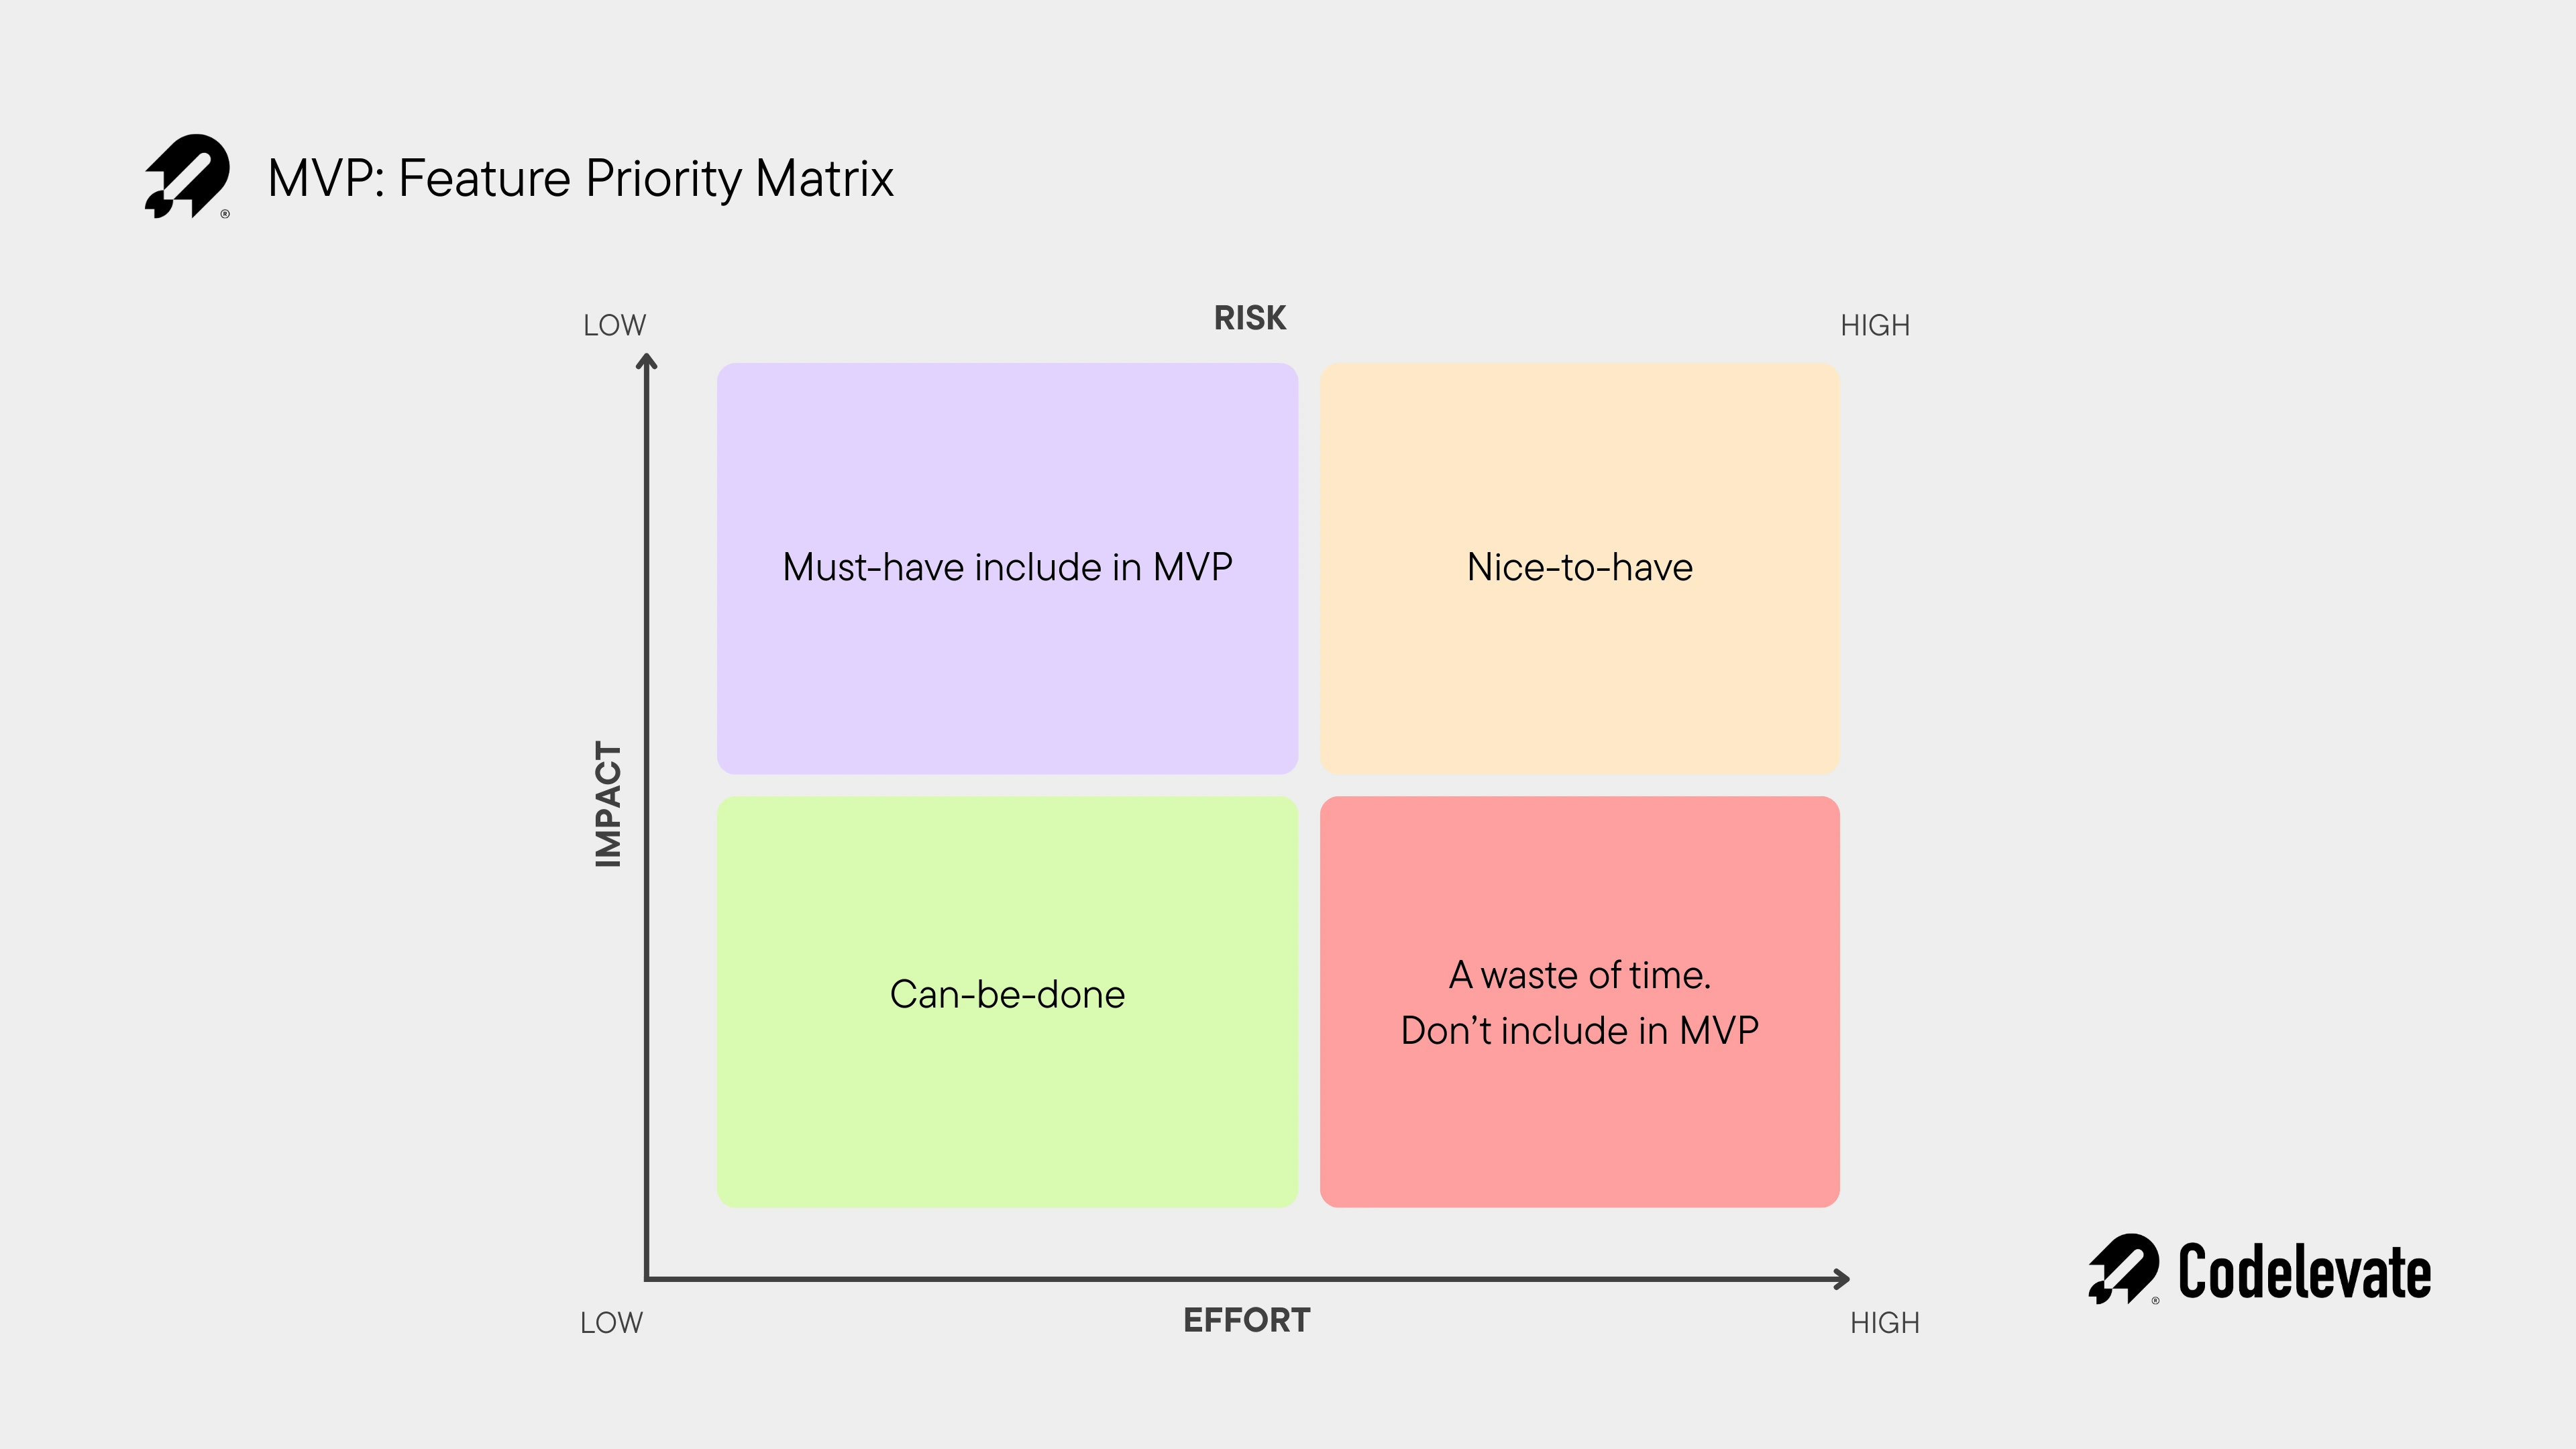
Step 4: Design the MVP feature set

Now, design the smallest set of features that allow you to test your top hypotheses. This is where discipline matters. Strip your idea down to the core interaction. What is the one thing users must be able to do to experience the value? Use tools like:
Resist the urge to “just add one more feature.” Every feature is a cost—not just in development, but in complexity and noise during testing.
Step 5: Simulate the experience
Before writing any code, test your MVP concept using simulation techniques:
- Landing page tests to describe the value proposition and track signups
- Clickable prototypes with tools like Figma
- Wizard-of-Oz methods: manually fulfill tasks behind the scenes to mimic automation
The goal here is signal. Does the user take action? Do they understand the value? Do they want more?
If no one clicks, signs up, or follows through, the problem isn’t your UX—it’s your core assumption.
Step 6: Validate the value proposition
Your MVP needs a strong value proposition—the promise of value that users understand and want. Test different versions of your message using:
- A/B testing on Carrd or Instapage
- Short video demos with Loom
- In-person or virtual pitches using Zoom or Google Meet
Ask potential users: “What do you think this product does, and why would you use it?” If they struggle to answer clearly, revisit your positioning.
Step 7: Choose a lightweight backend
When you’re ready to build, choose backend solutions that let you move quickly:
- Airtable, Google Sheets, or Notion for data
- Zapier or Make (Integromat) for automation
- Firebase or Supabase for auth and backend
Focus on building only what’s required to create a realistic experience. In most cases, faking it is acceptable as long as the user experience feels real.
Step 8: Build and test the crux
The Crux is the most essential part of your experience—the one thing that delivers the value you promised. It might be:
- The matching algorithm in a marketplace
- The dashboard in a data product
- The content in a learning app
Build this part carefully. It should function well enough to be used, observed, and measured.
Step 9: Run experiments
Don’t treat your MVP as a product launch. Treat it like a controlled experiment.
Define:
- User flows to track
- Key interactions to observe
- Qualitative feedback questions
Use tools like:
- Hotjar or FullStory for session recordings
- Google Analytics or Mixpanel for behavior tracking
- Typeform or SurveyMonkey for feedback
Document what you learn. Every user insight is a clue about where to go next.
Step 10: Before going live, decide what to test
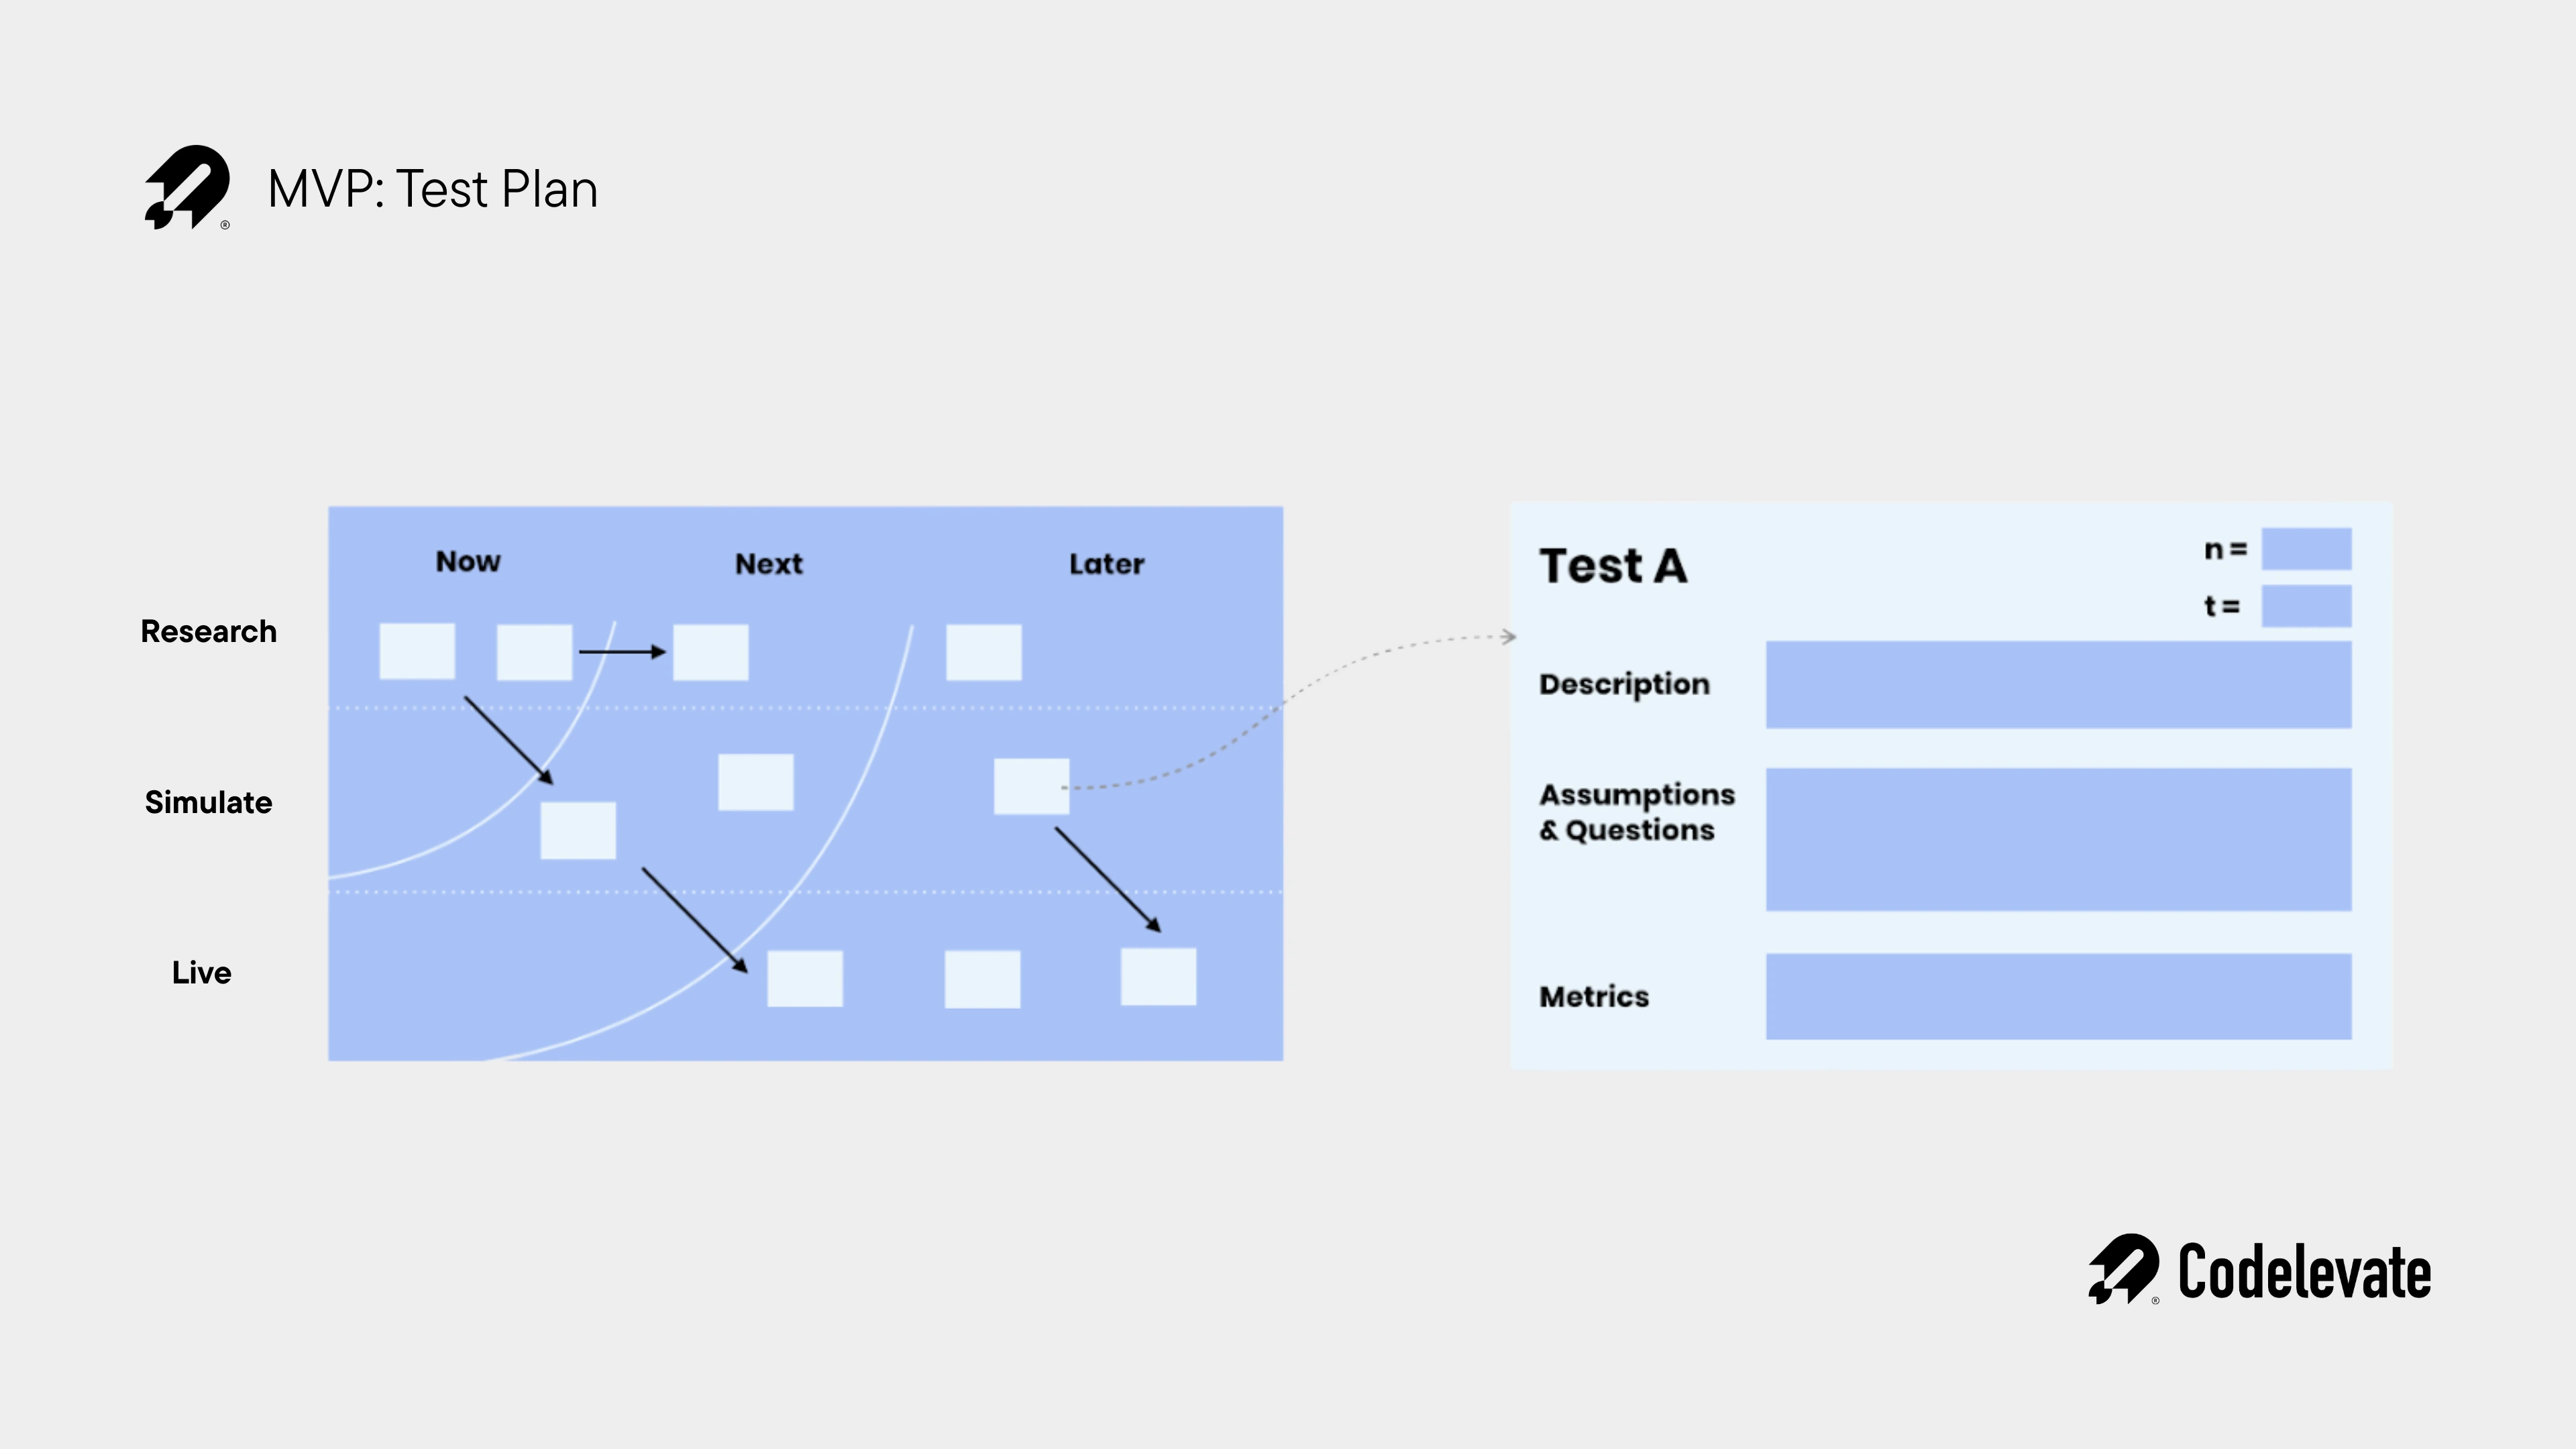
Critical Assumptions
Begin by identifying the 5-8 most crucial assumptions that could determine your product’s success or failure. These will serve as the foundation for your next steps in the process.
Testing Strategy
Based on these key assumptions, determine how to test them effectively to gain clearer insights. Testing doesn’t need to begin with a large user base. It can start with thought experiments or small-scale simulations. As your product develops, the way you test can evolve accordingly.
Gathering Actionable Insights
At this stage, you aren’t focusing on detailed product metrics. Instead, aim to collect data that shows you’re progressing toward clarity. The focus should be on actively listening and capturing as much data as possible. Use tools for quantitative and behavioral tracking to ensure you also have room for qualitative feedback and user research.
Final step: Decide what comes next
Once your MVP has been in the hands of users, analyze the data:
- Which assumptions were validated?
- What confused or blocked users?
- Did users achieve the core outcome?
From here, decide whether to:
- Pivot: Change your hypothesis based on feedback
- Persevere: Double down and build more functionality
- Pause: Go back to research or problem exploration
This decision should be grounded in data, not opinion.
What if you can’t check all the boxes?
In 2025, building an MVP is not about shortcuts—it’s about precision. You’re navigating from uncertainty to insight. The faster you validate your assumptions, the sooner you can build with confidence.
In short, before you start coding or hiring developers, pause and ask:
- Do we understand the problem and the user?
- Do we know what we’re testing?
- Are we using the simplest tools to learn the most?
If the answer is “not yet,” take the time to get clear. It’ll save you time, money, and missed opportunities later.
.webp)
Want a full step-by-step breakdown?
Download our free ultimate MVP checklist. It includes templates, test plans, and example workflows used by successful teams building products in 2025. Start smart, validate fast, and build with confidence!
.png)
.png)
.png)
.svg)


